There are many secrets surrounding the Phantom Doctrine. Unfortunately, the tutorial seems to be one of them. It’s a type of game that’s quite complicated to grasp but leaves you on your own to learn.
If you want to survive, you need to learn all the ins and outs of the game. This includes weapon management, AI limitation, strategic planning, and finance. Unfortunately, learning all these things can take hours upon hours of trial and error. Bear in mind, that this is a consequence heavy game. There’s no shame in learning in fifteen minutes what you can get in fifteen hours.
First of all, I want to teach you about finance. Espionage surprisingly revolves more on money more than it does on connections. Almost every single thing you do in Phantom Doctrine has you investing cash. And almost all of them are pretty damn expensive.
One of the best ways to earn money is by time. The Forger, once you’ve unlocked it, can help you earn $40+ per hour per agent assigned. If you need to acquire money as soon as possible, selling equipment that you don’t need also fetches a pretty high price.
You can gain new equipment on missions. They’re usually stored in lockers. They’re useful to collect as they can be, at many times, stronger than your current equipment and will sell for more. If you have the chance, acquire as much as possible.
Next, I want to teach you about keeping a low profile. This is extremely important. Bear in mind that once you accumulate risk, there’s almost no way to lower it down. Though unlike what the game tells you, there is a way to lower risk of detection but that opportunity comes few and far between.
If you’ve accumulated a lot of risks, your only real option is to move to another location. And that can be pricey. So avoid increasing the risk of detection as much as possible.
Your biggest threats to detection are Beholder Agents. These are agents are difficult to spot at times because they can either hinder your cash flow or increase the risk of detection. You can usually stop detection from rising by foiling Enemy Recon Missions or taking down all the Beholder Cell Leaders. At times, this can be difficult, as they don’t appear on the map immediately. Meaning you have to wait for them to be found.
Sometimes your very own agents are Beholder Agents themselves. This can be very worrying. The very people working under you could be working for the enemy all along. And you won’t know which one.
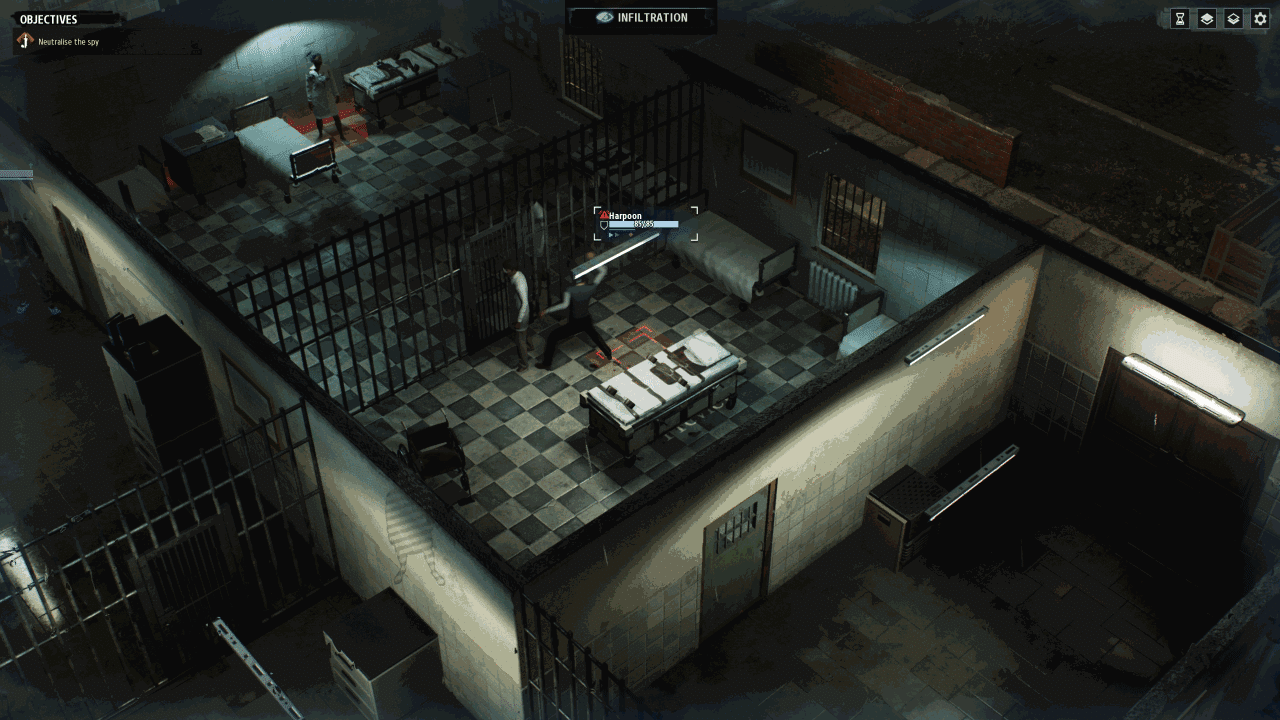
The best way to get rid of them is through the MK Ultra facility. This facility is quite tricky to use as the first time it is introduced, you know little to nothing about it. But it is a very essential gameplay element.
In the MK Ultra, you can essentially brainwash agents, interrogate them, or even kill them. This also applies to your own men as well as captured enemy agents. The best way to know if someone is a Beholder Agent infiltrating your ranks is to look at their potential under Crew Management. Potentials that haven’t been unlocked will be displayed as a question mark. Be wary, this could mean that they are working for another organization at risk of your own or simply means that they have a talent that has yet to be discovered. Brainwashing reveals this unknown perk but also removes another one at random. So you may find that one of your agents is working for the enemy or you may have just wasted potential talent.
At some point, you will have to gain new agents in order to cover every aspect of your base and planning. I rarely recruited potential agents as doing so will increase risk of detection. It doesn’t matter anyway once you unlock missions to rescue captured agents. They will join you anyway if you complete the mission successfully. And this is even if your agent rooster is full.
Speaking of captured agents, if you manage to capture an enemy agent with the MK Ultra unlocked, you’ll have the opportunity to do as you wish with them. Don’t just dispose of them right off the bat. Interrogation is extremely useful as it can reveal new information in training, improvements, and others.
Also, holding on to an enemy agent raises your risk of exposure by 1 per hour per enemy agent. So if you have two at your disposal, the risk of exposure increases by two per hour. Disposing of an enemy agent will cost you. On the other hand, there doesn’t seem to be any negative side effects in letting them go except it takes about an hour to do so.
Let’s head to actual gameplay elements.
Before we start, let’s take a moment to understand the equipment you’re going to use. For a game that centers on quietly taking down your enemy, more than half of your equipment causes everyone to be alerted. So until you unlock the silencer, you’re going to have to make do with silent takedowns.
Each of your agents specializes in certain weaponry. You can train them in order to learn more. But only agents that have specializations in certain kind of guns can equip them with additional installments such as silencers or different bullet rounds.
Don’t underestimate grenades and other accessories. Frag grenades can alert everyone to your position but also usually take out everybody in a given area. The enemy cannot dodge grenades. But keep in mind neither can you. If it can be helped, always equip your men with a single grenade.
Keep in mind that even if you use an item in mid-mission, that item doesn’t actually disappear afterward. It’s permanently a part of your agents’ inventory as long as you have it equipped. But it can only be used once per mission.
Also once you’ve performed Recon before a mission it can unlock additional support for a given mission. But recon can take time and some missions won’t give you any time to do so. That being said, you should do so anytime you can. It will unlock disguises for your agents as well as outside support.
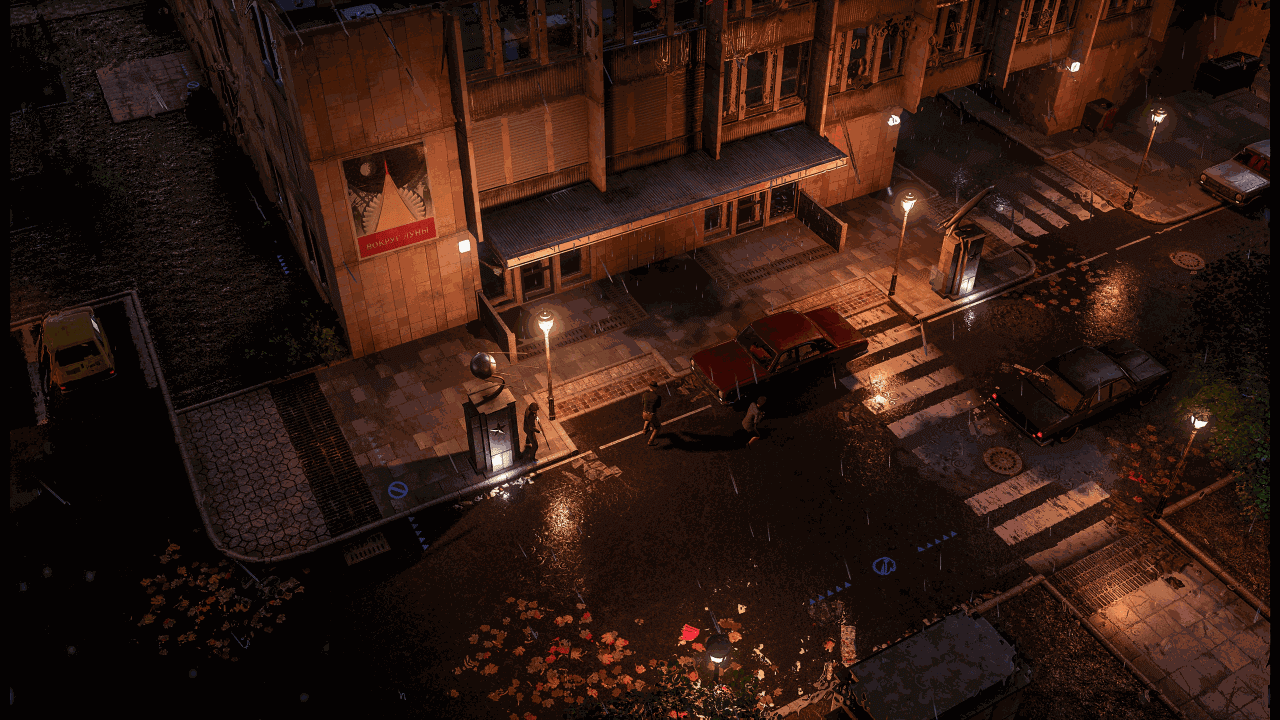
Disguises are extremely useful if you’re planning on stealth. Agents that are disguised can move through restricted areas with no risk of being spotted unless they commit a high profile act. Be wary of enemy agents, as they can spot through disguises unless that specific agent of yours has the Actor Perk.
Also disguises severely limit agent equipment. They can only use pistols and submachine guns. They can’t even equip any kind of body armor or carry a grenade. How that makes sense is beyond me, but that’s how the game works. You should keep in mind that agents in disguise are the most vulnerable in missions.

There are two ways to carry out a mission.
You have stealth and then you have aggression. Both styles are legitimate ways of playing through. Though you are actively discouraged from a more aggressive play style. If you’re starting a new game, then stealth is massively recommended. You are underequipped and inexperienced. You’re not going to last long against repeated enemy fire.
Since stealth is a bit complicated, let’s talk about aggressive play first.
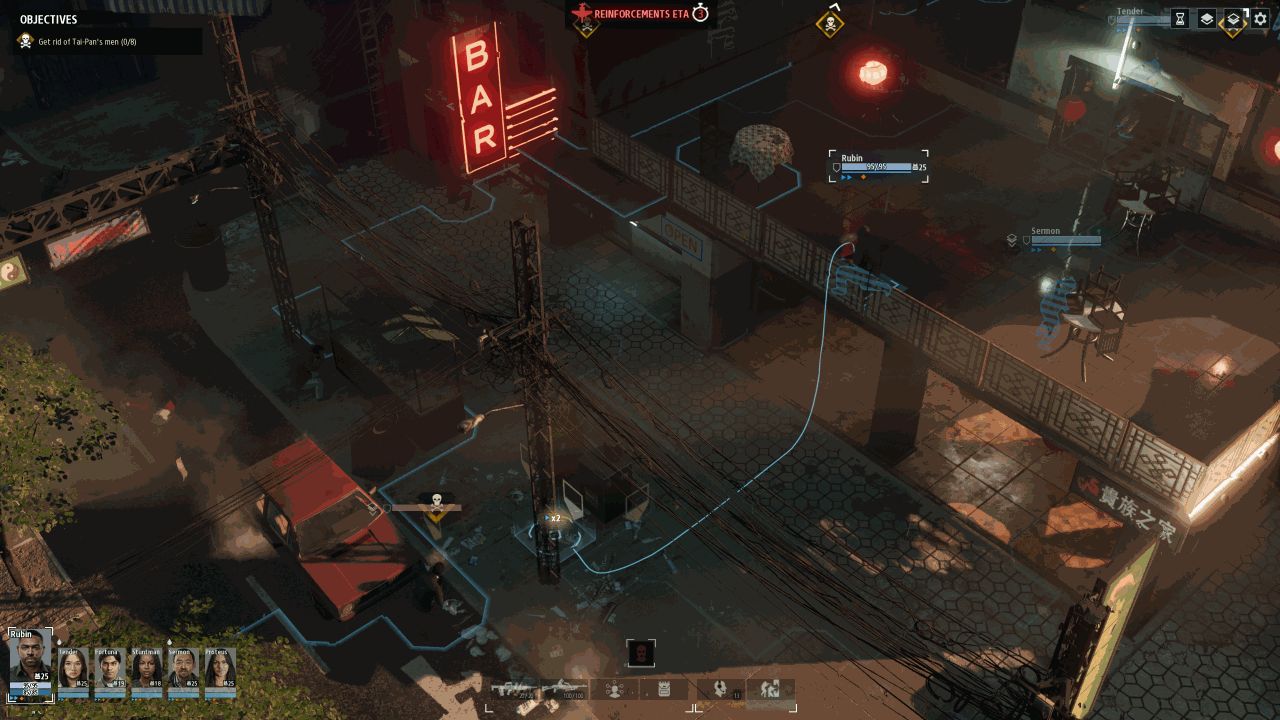
If you want to go loud against the enemy, you’re essentially turning your agent into a SWAT unit. Don’t be afraid to act it out like one. Make sure to disable silencers as they reduce damage even by a small margin. Remember strategically place your agents in cover. Don’t put them too close together as a grenade can wipe them all out. But don’t spread them too thin to help each other.
Body armor will also help here. Not a bulletproof vest as that is hidden. But wearing full-on body armor will alert guards and even civilians who see you. So rest assured the game is designed with an aggressive playstyle in mind.
Keep in mind that your enemy is aggressive. They won’t stop until all of you are dead. Reinforcements will always come to back up their troops. And worse, an attack helicopter will arrive to demolish your agents with machinegun fire.
You should know that there are limitations when it comes to enemy AI. First of all, even when reinforcements arrive they cannot shoot on their first turn of arrival. They can only ever move. You can take advantage of this as they huddle together by throwing a frag grenade their way. Unfortunately, enemy AI reinforcements have a nasty habit of spawning near the evacuation zone.
Speaking of evacuation, you should know that your evacuation has about 3 turns until compromised. If you don’t know what that means, it essentially means that your risk of exposure will be added by 30. Though it won’t fail the mission or force you to call in another in order to leave the area.
Your evacuation will only ever be compromised if the enemy knows you are there. So you can call in evacuation with no fear of being compromised as long as you don’t alert the enemy.
Also be wary of getting into a firefight with the enemy. Your agents may have awareness, which is essentially mana points that regenerate, but the enemy has them too. The higher the awareness the stronger they are. High awareness allows you to dodge bullets outright. But enemy AI can also do the same. So don’t bother going for a shot against an agent with high awareness as they’ll just dodge it. At best it will graze them for the minimum.
Now let’s get to stealth.
If you’re a normal person playing through Phantom Doctrine, then stealth is how you mostly play. However, this can be tricky as there is little to no tutorial on stealth mechanics. There’s a lot of trial-and-error to be had in this game so don’t be afraid to save scum.
I’ve already discussed silencers as a use in missions. You can use them as much as you’d like with no fear of alerting the whole area. As long as you make sure that the shot kills the person you’re pointing it at. It should be easy to tell since there is a damage indicator. There’s no chance of the enemy AI dodging fire if they’re not alerted. So you can always be sure that it will hit.
Knocking out enemy soldiers and spies is an extremely useful ability. Knocked out enemy agents can be carried to the evacuation zone to extract with you. But you can only ever knock out someone with lower HP than you. Not HP in total but HP they currently have. So if you have an enemy with higher health than you but is damaged severely, knocking them out may prove more useful than shooting at them especially since there is no chance of dodging knockouts.
Phantom Doctrine also has some things they don’t tell you, such as a guard can be alerted if you stand to close to them even in a non-restricted area. Which is strange because it doesn’t happen all the time. But it can happen.
If you’ve done Recon before tackling a mission, then you can see where the enemy AI including civilians will go to on their turn. Use this to your advantage.
Enemy agents are extremely powerful. They have more health than your average NPC and even your own agents. Unlike other enemy AI they can break their patrol script to explore the area if they are suspicious. They recognize your agents even if they are in non-restricted areas if they are in their line of sight. The only thing they can’t recognize is a disguised agent with the Actor Perk.
Keep in mind that enemy agents will get suspicious and explore the area if you take out enemy AI including some civilians. If the enemy soldiers don’t report back enemy agents will explore the area. They usually do this after three kills or takedowns.
It is recommended that you take out enemy operatives first before the soldiers. As doing so will not make anyone suspicious no matter how many you take out.
If enemy operatives or anyone else finds a body everyone in the stage will be immediately alerted to where you are. You will enter combat phase. And for some reason, the enemy already knows where you are. Doesn’t really make sense but it is there.
A loud gunshot will also alert everyone to where you are. They will call for reinforcements and try to take you out. This is why it’s best to have a silencer.
Breach is one of the most useful, not the most, actions you can take. Imagine going into a room to take out every enemy variable. There are many ways to execute breach and you should take advantage of all of them. A breach with unsuppressed weapons will alert everyone but you can combat that by equipping your agents with silencers. It takes at least two agents in a given area to breach and you can do it in any room. You can breach with as many agents as you’d like provided that they are in distance to do it.
Breach does have limitations that Phantom Doctrine doesn’t tell you. While it normally kills anyone in its path, it’s not a guaranteed kill. Civilians will not be shot at so even if you breach a room with silencers the whole area will still be alerted thanks to witnesses. Breaching will only ever shoot enemy AI. If your weapons aren’t strong enough to kill the enemy (rarely happens) the alert phase will also trigger, though breach usually kills everything in the way.
Breach can also allow you to move more than once for a character. For example, if you breach a certain area, you can still move your characters afterward, giving them extended length. It will still deplete action points though.
This article is top secret and still requires added information. Verify at your own risk.